
Emergency sewer & plumbing response Finding your nearest service area… · Service areaCall 818-538-4958
New Flow Plumbing · Local resource

How to Clean a Shower Head Without Damaging It

Practical plumbing information, professional guidance, and a clear next step for homeowners and businesses across the San Fernando Valley and Los Angeles County.

New Flow Plumbing professional resource image for How to Clean a Shower Head Without Damaging It
Clear information backed by professional field experience.
DIY maintenance · about 20 minutes

A safer way to work through the first checks.

Improve spray quality with a gentle cleanout that protects the shower arm and connection.

DifficultyEasy
PrepareSoft cloth, bowl or bag, white vinegar, soft brush, and a plastic tie if needed.
Stop and callLeaks, sewage, gas, electrical risk, or anything you cannot safely reach.
Related New Flow Plumbing guide image for How to Clean a Shower Head Without Damaging It
Use the visual checks as a guide, then follow the manufacturer instructions for your equipment.
Step-by-step walkthrough

Work through each step before moving to the next.

Take a photo or note what you find. If a step does not match your property or the symptom gets worse, stop and call for professional guidance.

Inspect the connection first
Step 1

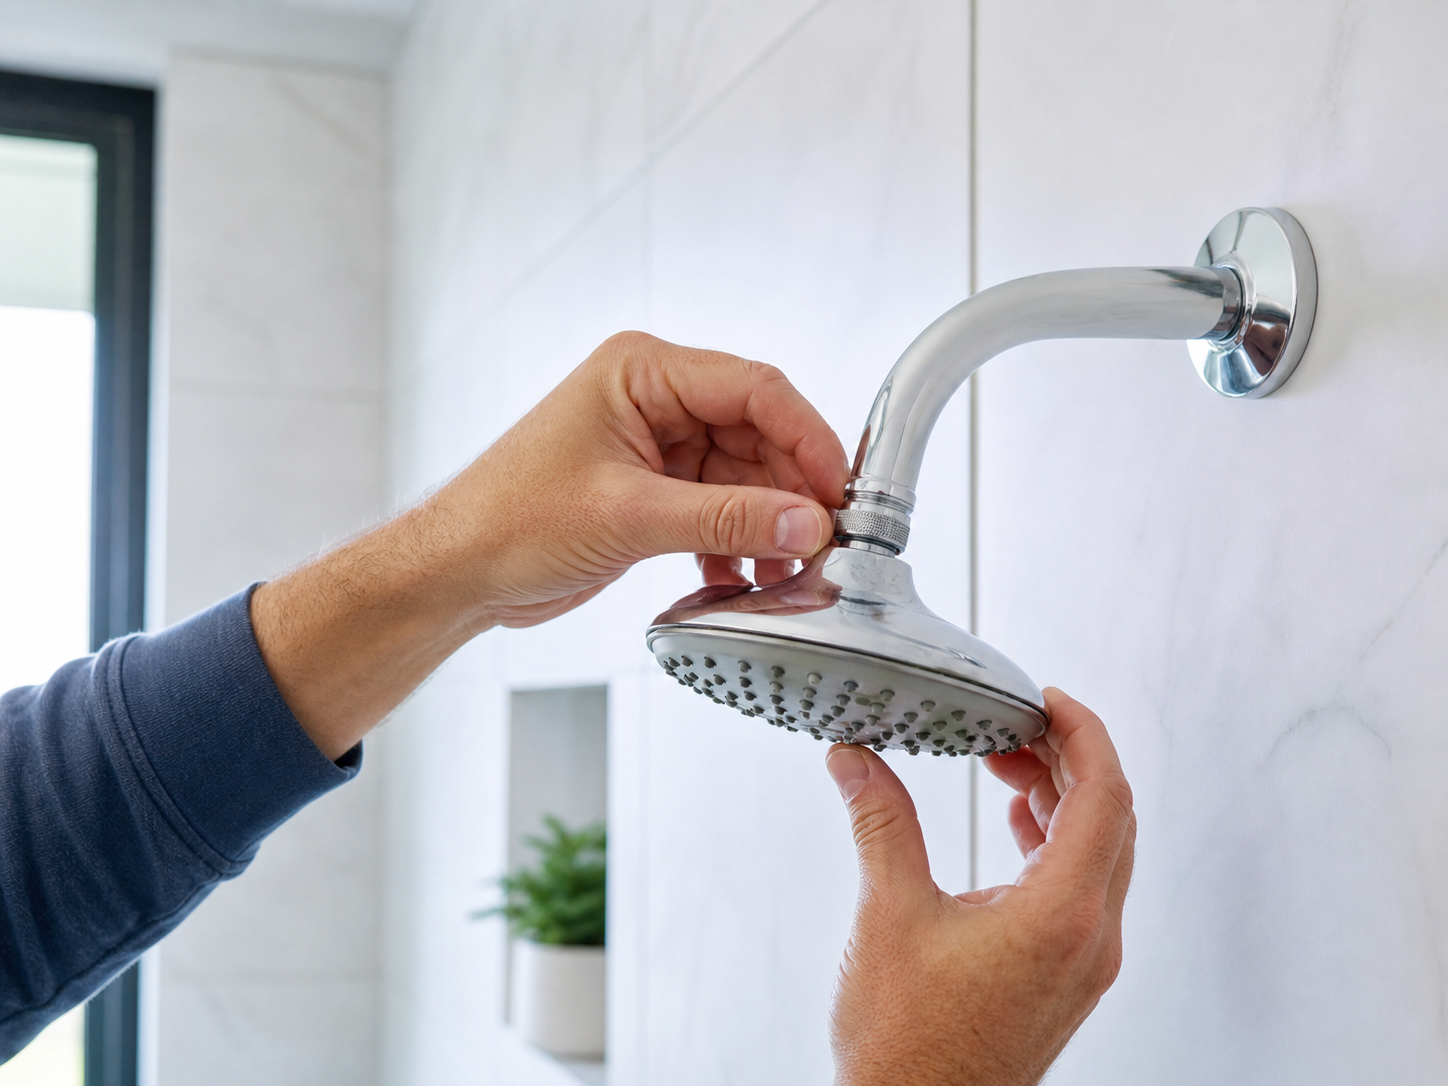
Inspect the connection first

Look for green or white corrosion, a loose escutcheon, or water appearing behind the wall trim. Those signs are a reason to call before removing the head.

Check before continuing: Keep the area dry, controlled, and easy to observe.
Choose a gentle soak
Step 2

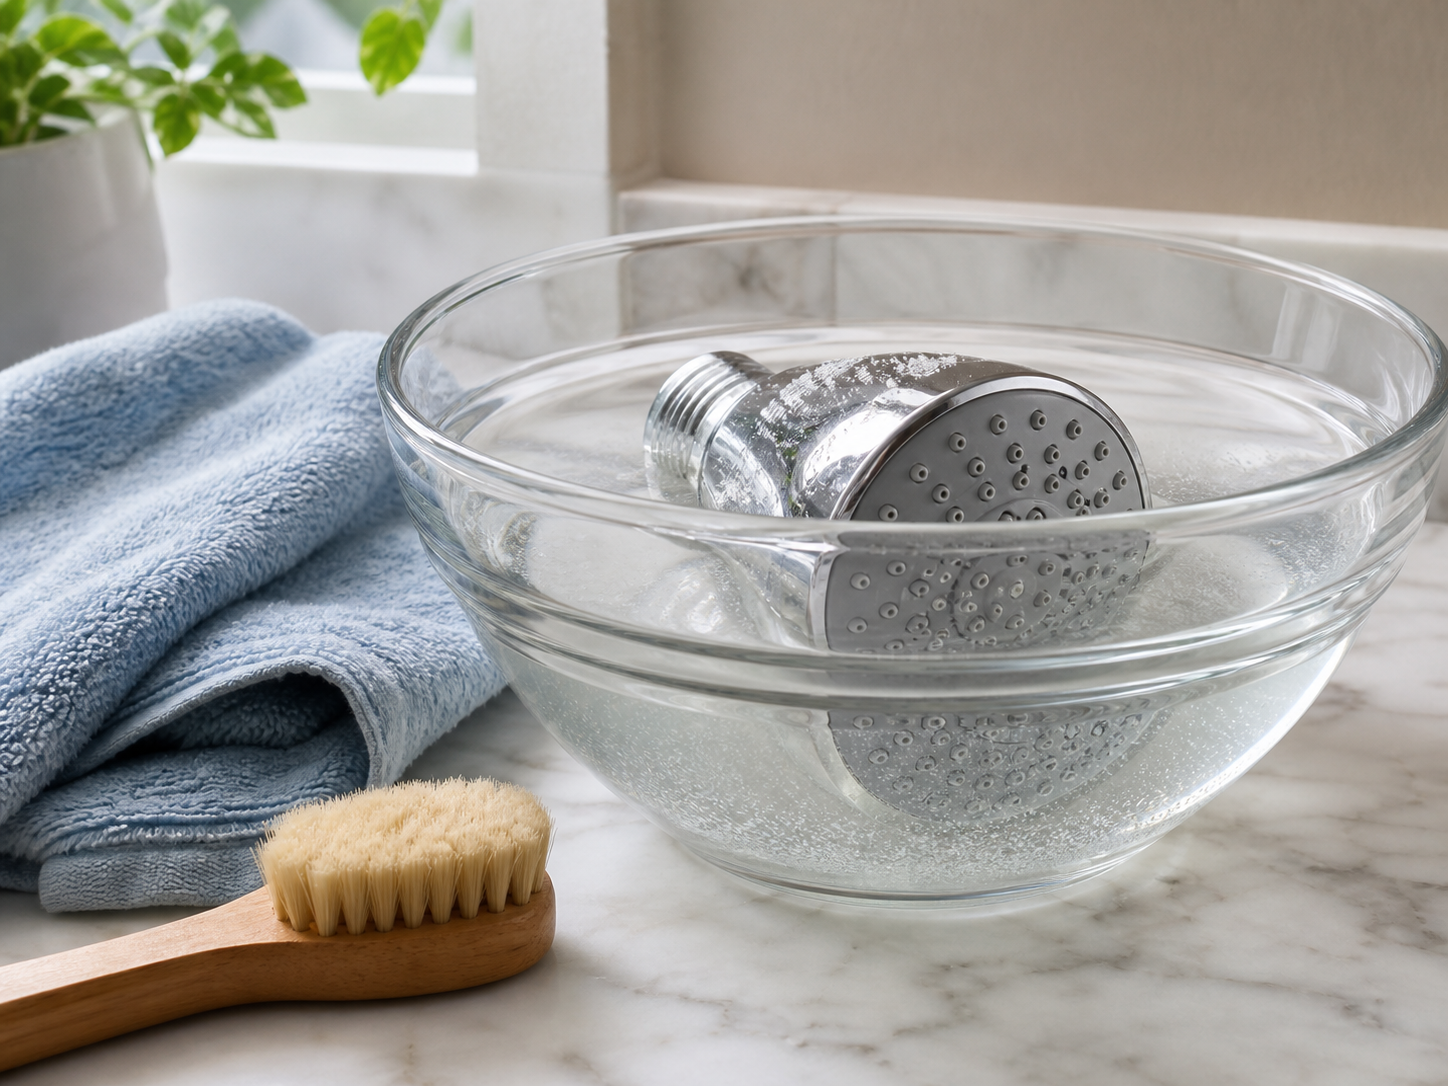
Choose a gentle soak

Place the shower head in a bowl of white vinegar or secure a vinegar-filled bag around the spray face. Keep the solution off delicate finishes when the manufacturer warns against acids.

Check before continuing: Keep the area dry, controlled, and easy to observe.
Clear the spray openings softly
Step 3

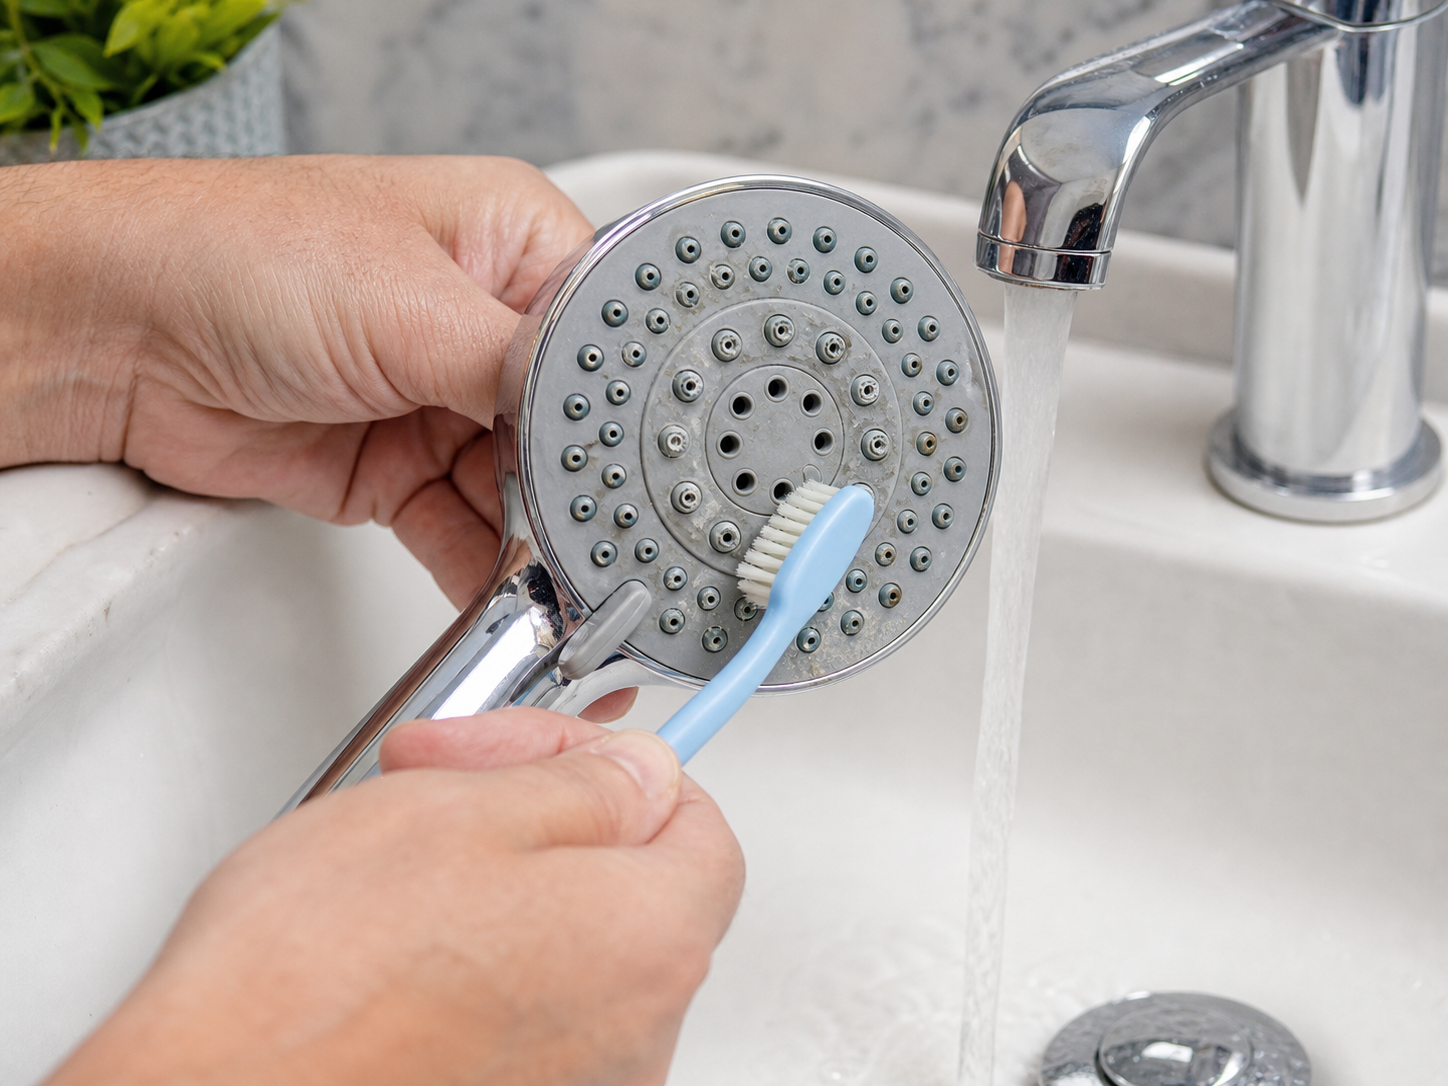
Clear the spray openings softly

After 15 to 30 minutes, rinse the head and massage the rubber nozzles with your fingers or a soft brush. Avoid metal picks that can enlarge the openings.

Check before continuing: Keep the area dry, controlled, and easy to observe.
Reconnect and check for leaks
Step 4

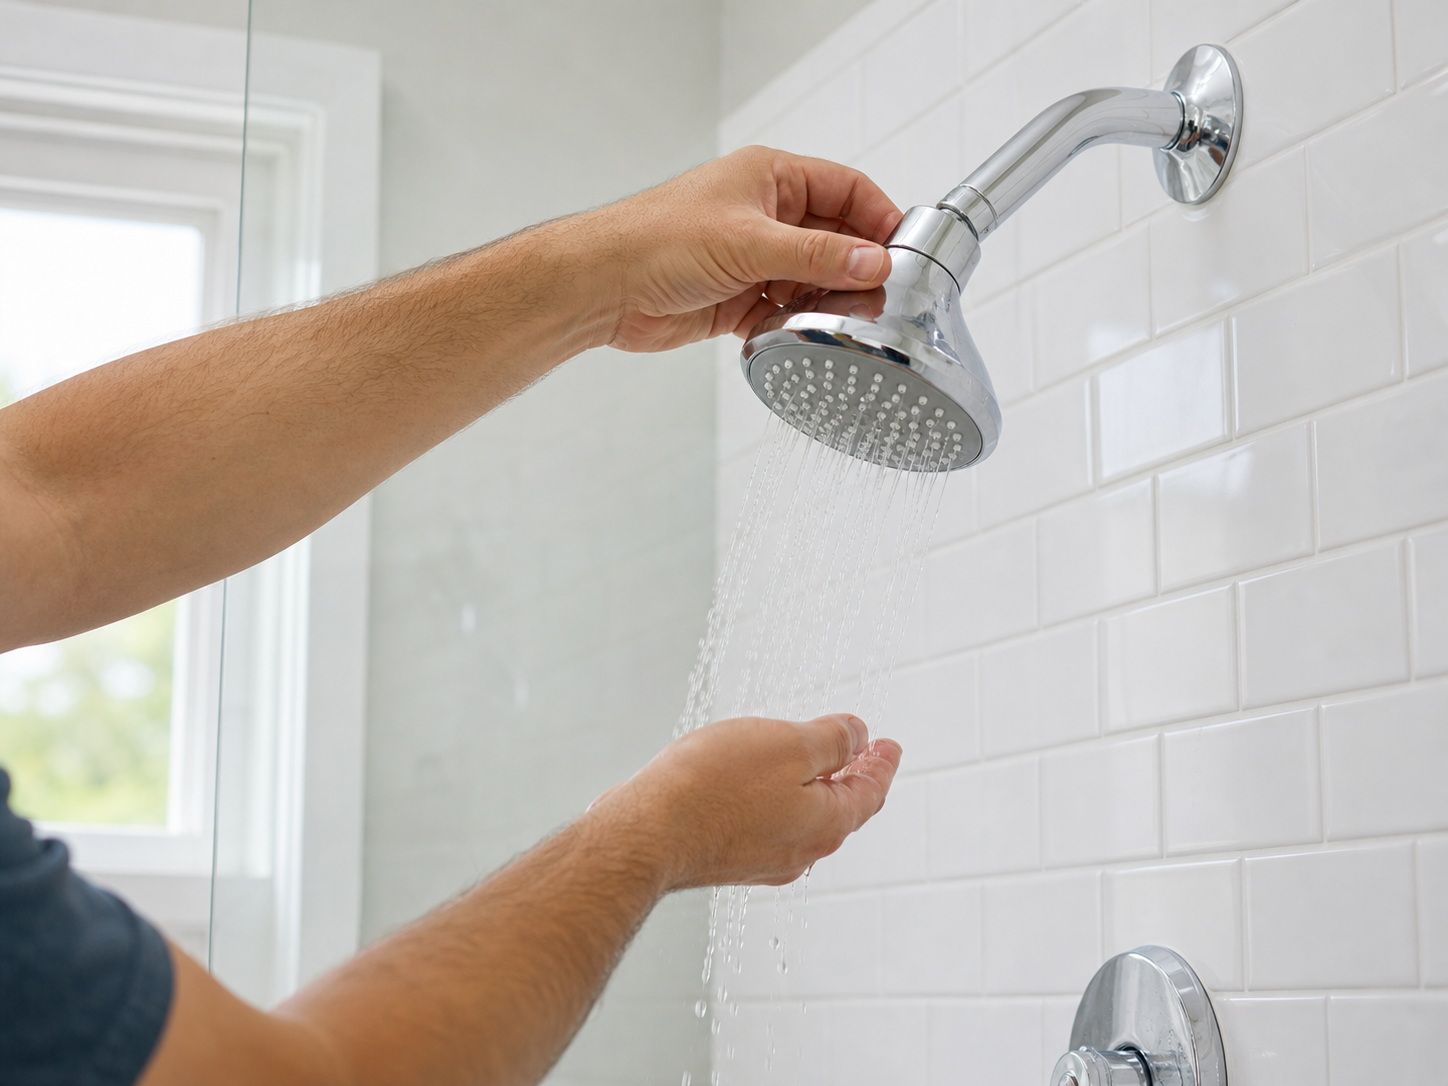
Reconnect and check for leaks

Use fresh thread tape only if the manufacturer or fitting calls for it, hand-tighten the head, and run the shower while watching the connection and wall trim.

Check before continuing: Keep the area dry, controlled, and easy to observe.

Know your next step

When the simple check is not enough.

Share the photos, symptoms, and steps you already tried. New Flow Plumbing can help confirm the cause and recommend the appropriate repair path for your home or property.

Call a sewer specialist · 818-538-4958