
Emergency sewer & plumbing response Finding your nearest service area… · Service areaCall 818-538-4958
New Flow Plumbing · Local resource

How to Install a TUSHY Bidet Attachment Safely

Practical plumbing information, professional guidance, and a clear next step for homeowners and businesses across the San Fernando Valley and Los Angeles County.

New Flow Plumbing professional resource image for How to Install a TUSHY Bidet Attachment Safely
Clear information backed by professional field experience.
DIY installation · about 30 minutes

A safer way to work through the first checks.

Install a toilet bidet attachment with a controlled shutoff, careful hand-tightening, and a deliberate leak test.

DifficultyModerate
PrepareTowel, adjustable wrench, bucket, compatible TUSHY kit, and the manufacturer instructions.
Stop and callLeaks, sewage, gas, electrical risk, or anything you cannot safely reach.
Related New Flow Plumbing guide image for How to Install a TUSHY Bidet Attachment Safely
Use the visual checks as a guide, then follow the manufacturer instructions for your equipment.
Step-by-step walkthrough

Work through each step before moving to the next.

Take a photo or note what you find. If a step does not match your property or the symptom gets worse, stop and call for professional guidance.

Confirm fit and shut off the supply
Step 1

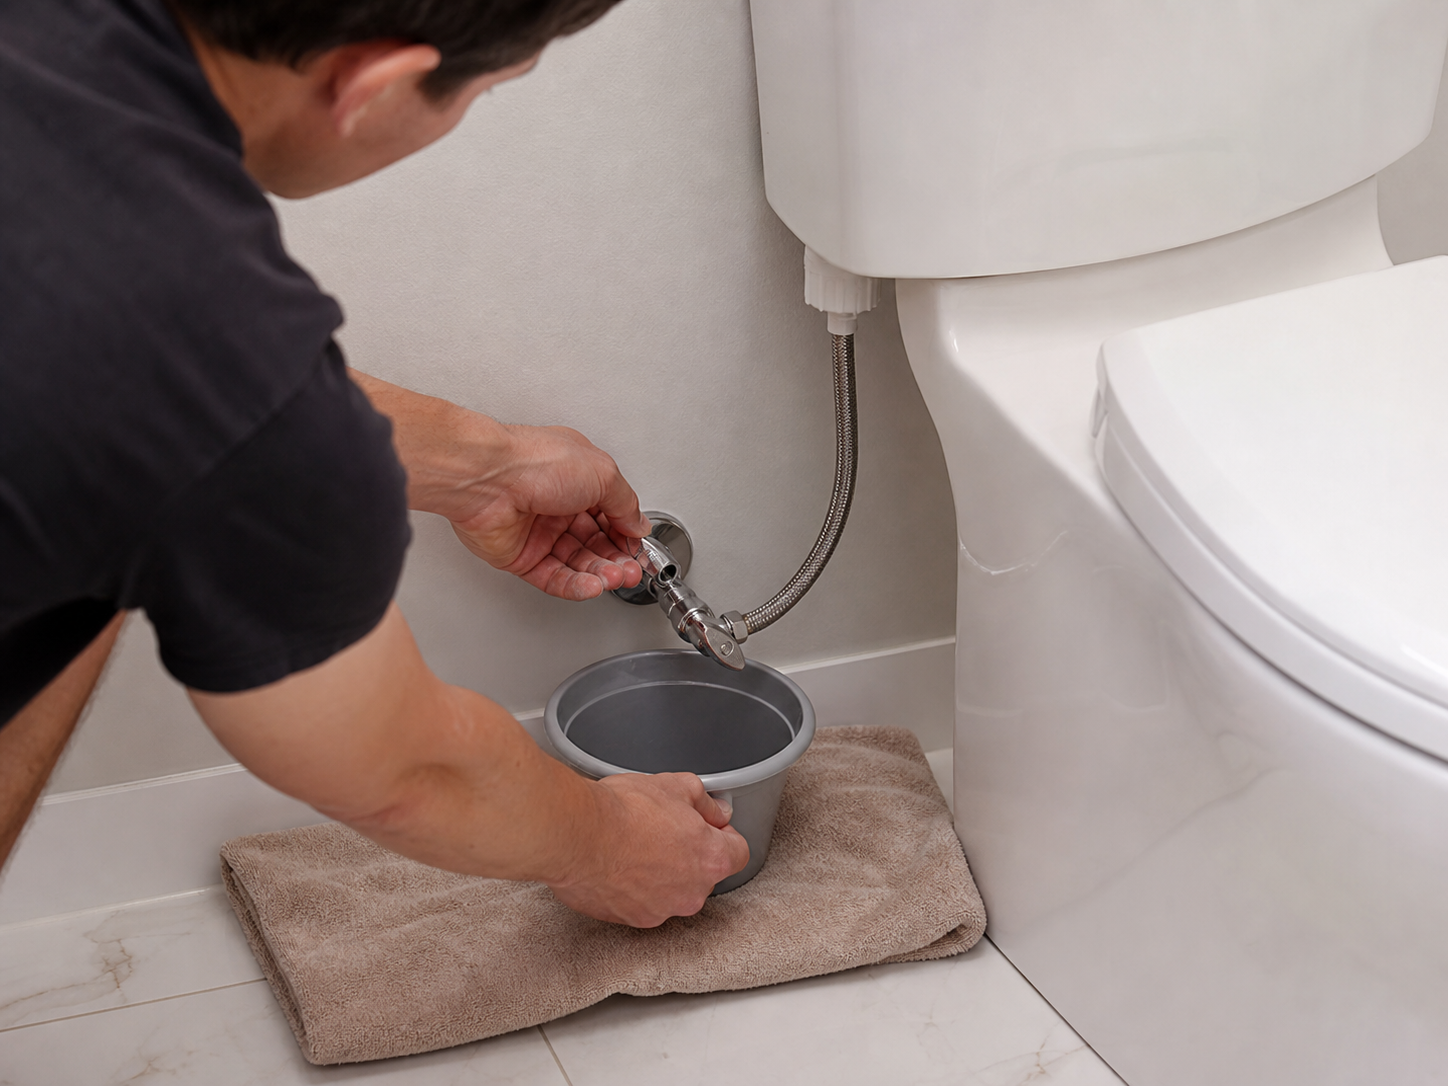
Confirm fit and shut off the supply

Read the kit instructions, confirm the toilet and supply-line thread sizes, place a towel and bucket below the connection, then close the shutoff clockwise and flush to release pressure.

Check before continuing: Keep the area dry, controlled, and easy to observe.
Remove the seat and install the attachment
Step 2

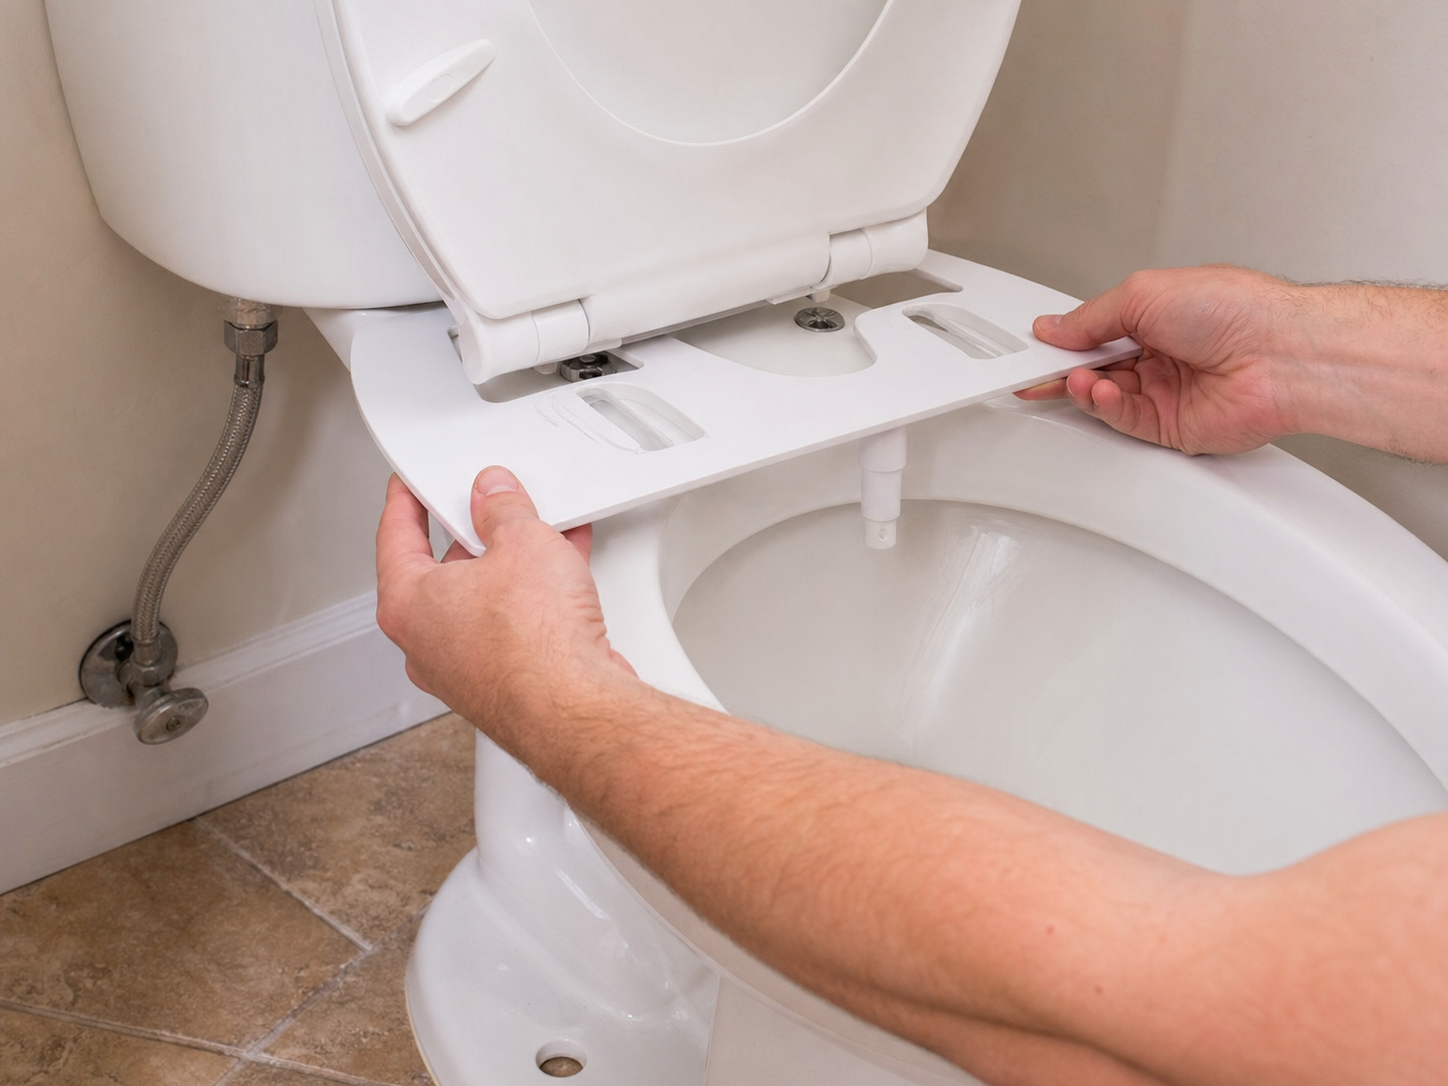
Remove the seat and install the attachment

Remove the seat, position the bidet plate so the nozzle clears the bowl, and reinstall the seat hardware without overtightening or cracking the porcelain.

Check before continuing: Keep the area dry, controlled, and easy to observe.
Connect the tee and supply hose
Step 3

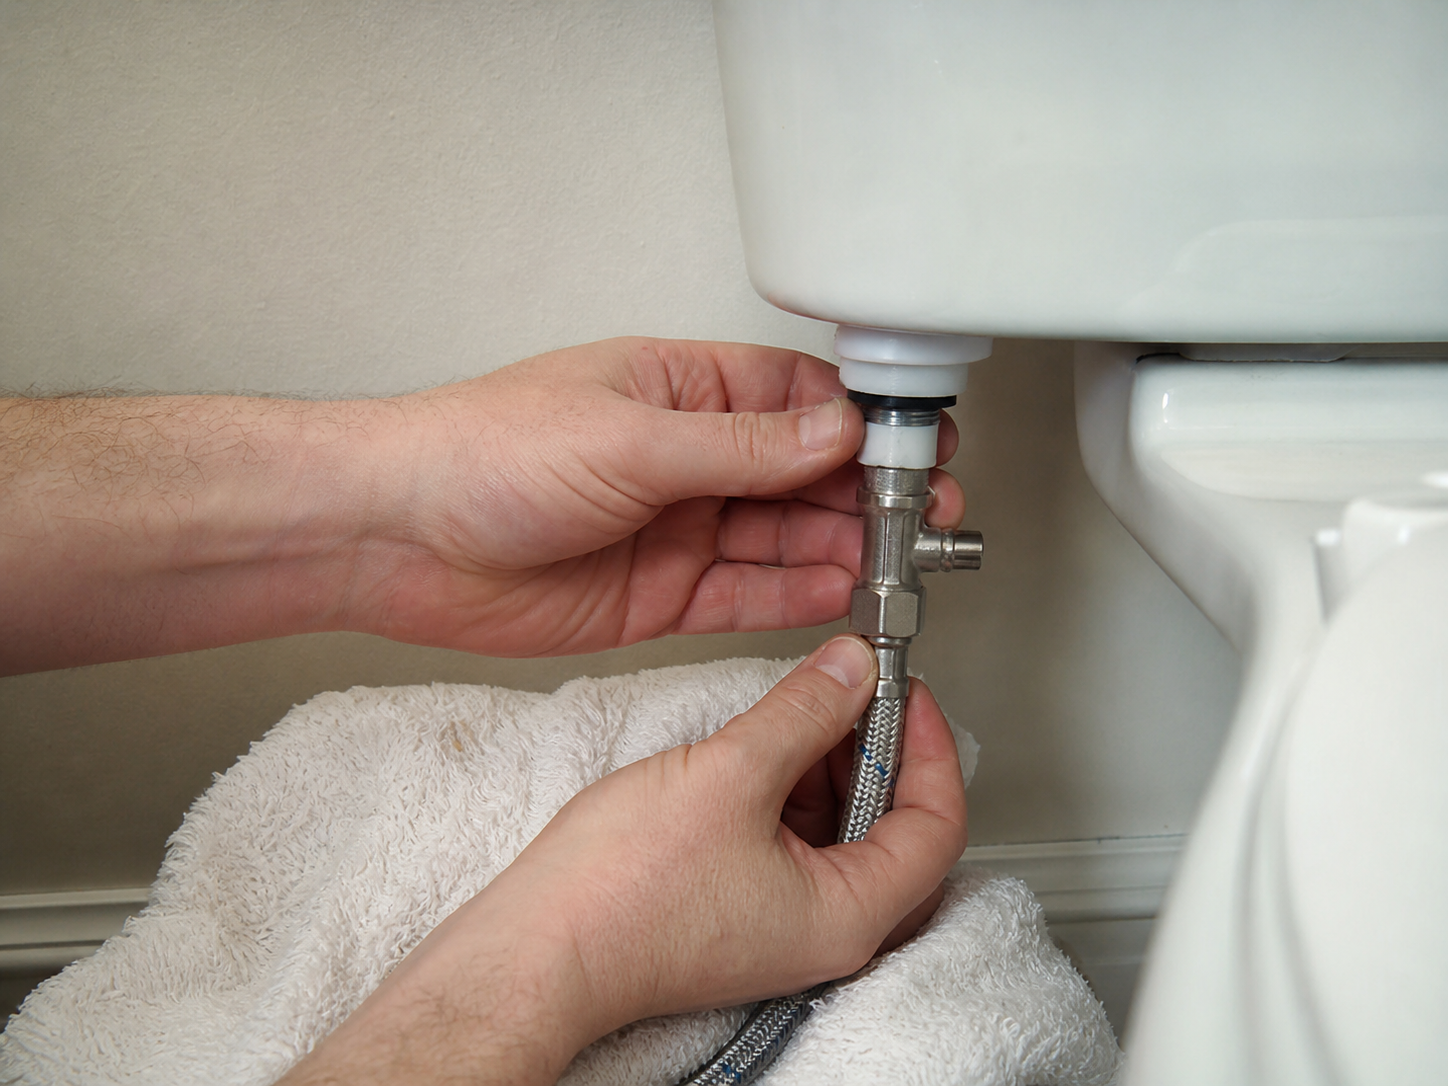
Connect the tee and supply hose

Disconnect the toilet supply line, place the tee adapter with the supplied washers in the correct order, and hand-tighten each connection before a small wrench snug-up.

Check before continuing: Keep the area dry, controlled, and easy to observe.
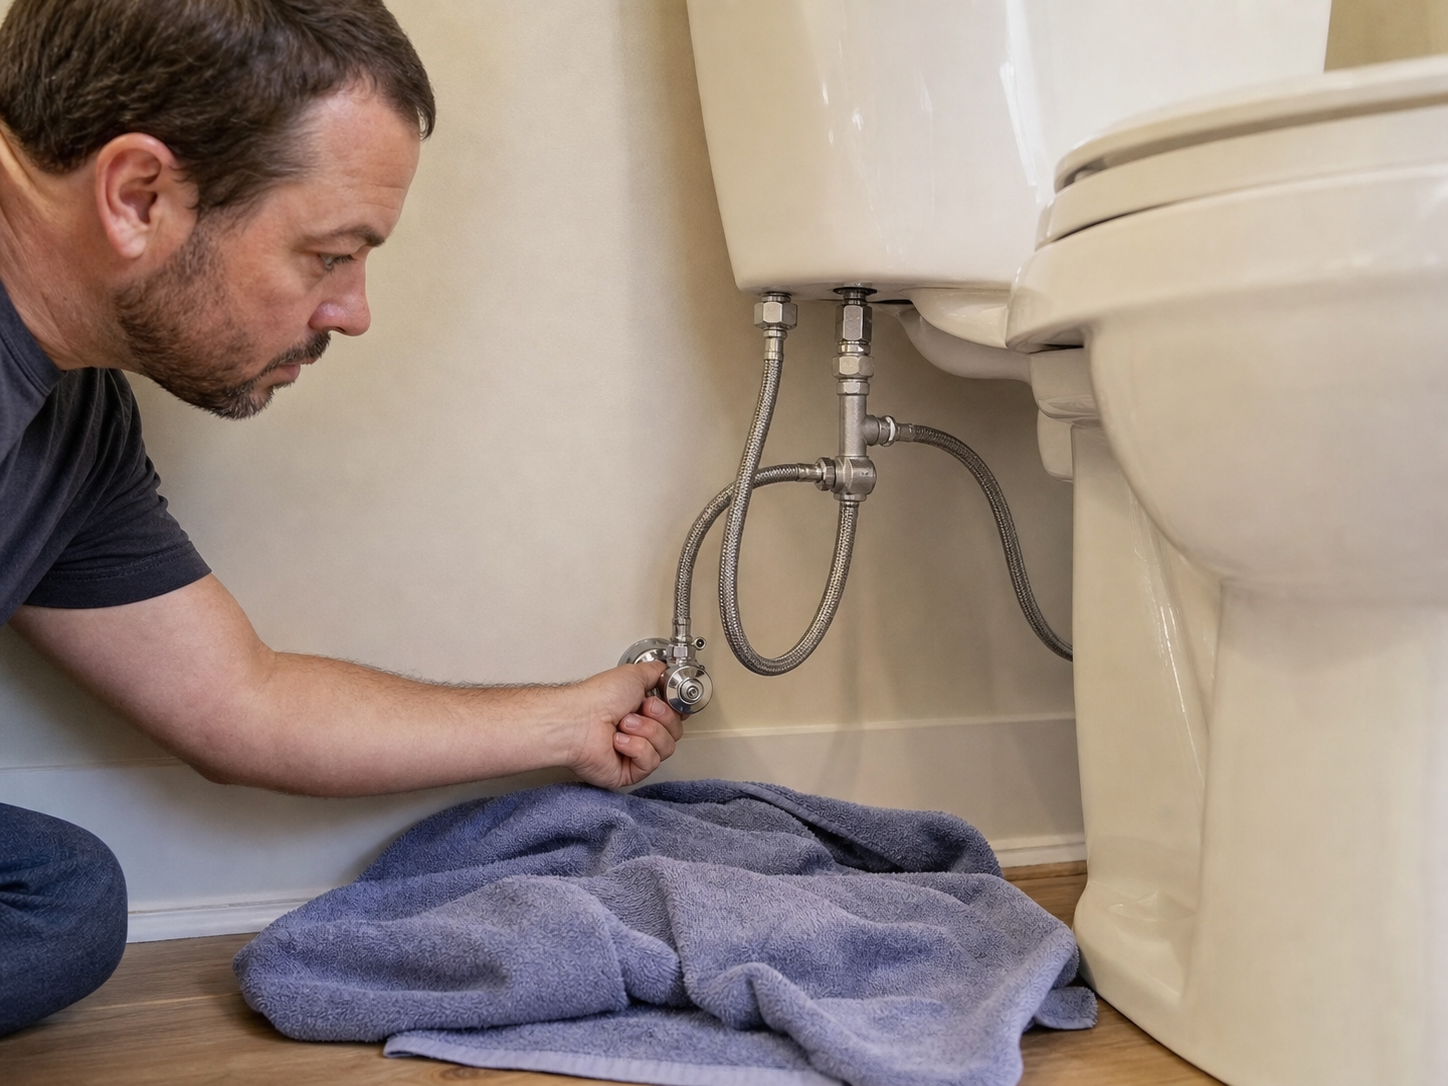
Restore water and test every joint
Step 4

Restore water and test every joint

Open the shutoff slowly while watching the tee, hose ends, and tank connection. Wipe each joint dry, wait several minutes, and retest before leaving the fixture in service.

Check before continuing: Keep the area dry, controlled, and easy to observe.

Know your next step

When the simple check is not enough.

Share the photos, symptoms, and steps you already tried. New Flow Plumbing can help confirm the cause and recommend the appropriate repair path for your home or property.

Call a sewer specialist · 818-538-4958