
Emergency sewer & plumbing response Finding your nearest service area… · Service areaCall 818-538-4958
New Flow Plumbing · Local resource

How to Choose the Right Plunger

Practical plumbing information, professional guidance, and a clear next step for homeowners and businesses across the San Fernando Valley and Los Angeles County.

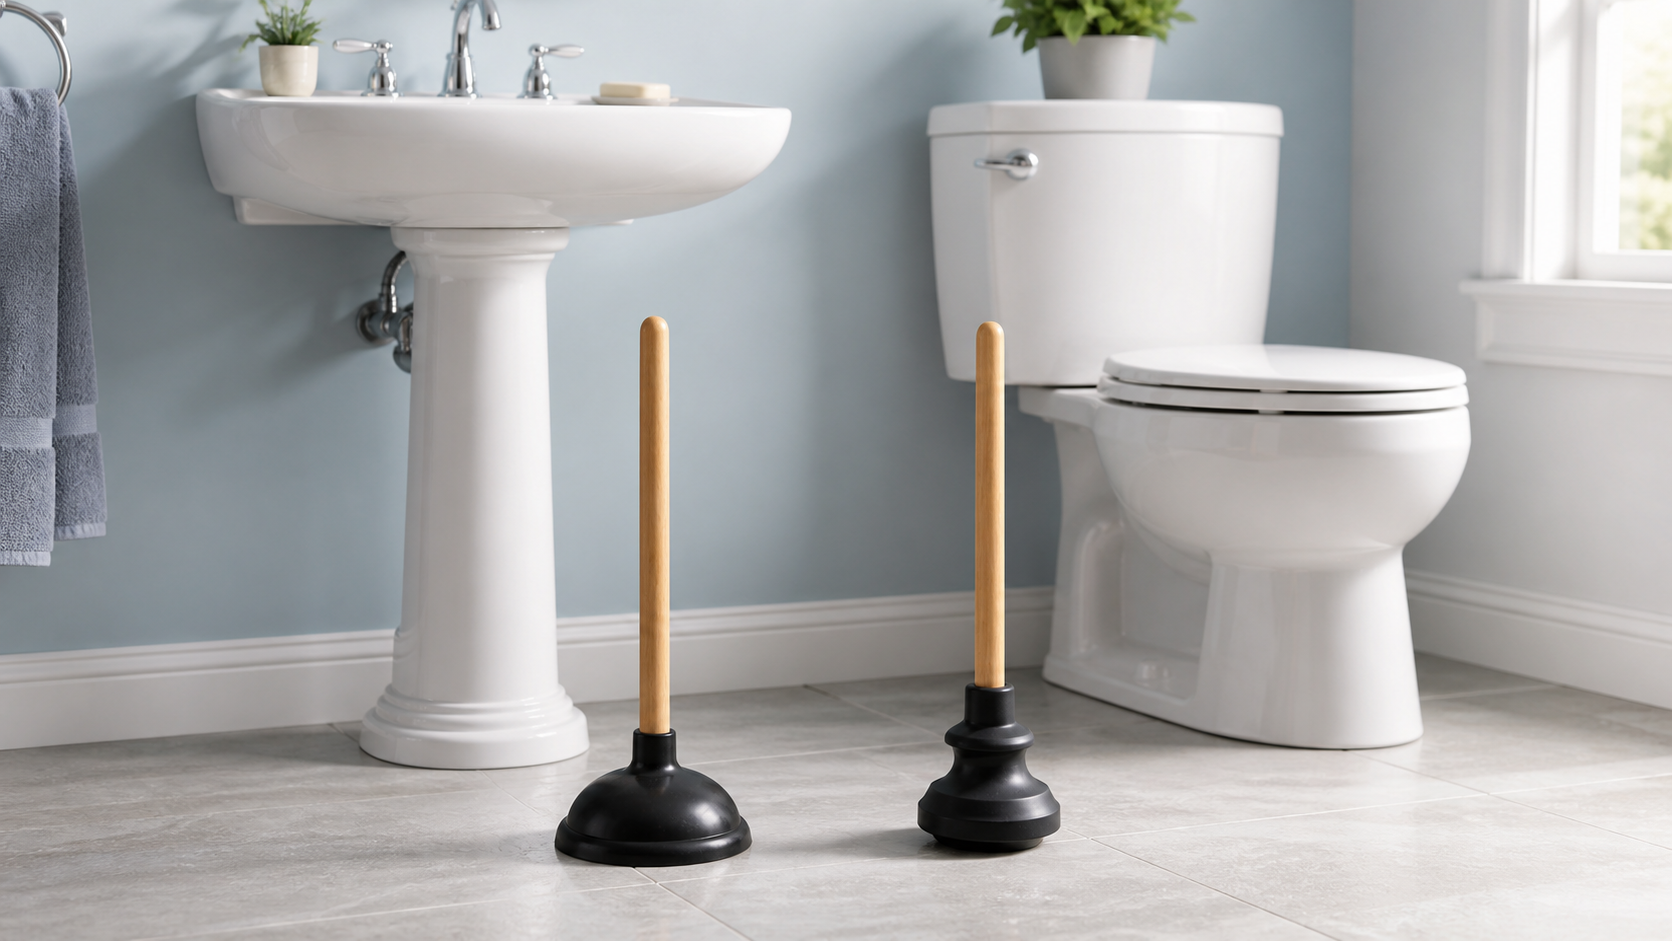
New Flow Plumbing professional resource image for How to Choose the Right Plunger
Clear information backed by professional field experience.
DIY drain guide · about 15 minutes

A safer way to work through the first checks.

Choose the right plunger for the fixture before you start: a flat cup plunger for sinks and a flanged plunger with an extended collar for toilets.

DifficultyEasy
PrepareFlat cup sink plunger, flanged toilet plunger, gloves, towels, and eye protection.
Stop and callLeaks, sewage, gas, electrical risk, or anything you cannot safely reach.
Related New Flow Plumbing guide image for How to Choose the Right Plunger
Use the visual checks as a guide, then follow the manufacturer instructions for your equipment.
Step-by-step walkthrough

Work through each step before moving to the next.

Take a photo or note what you find. If a step does not match your property or the symptom gets worse, stop and call for professional guidance.

Match the plunger to the fixture
Step 1

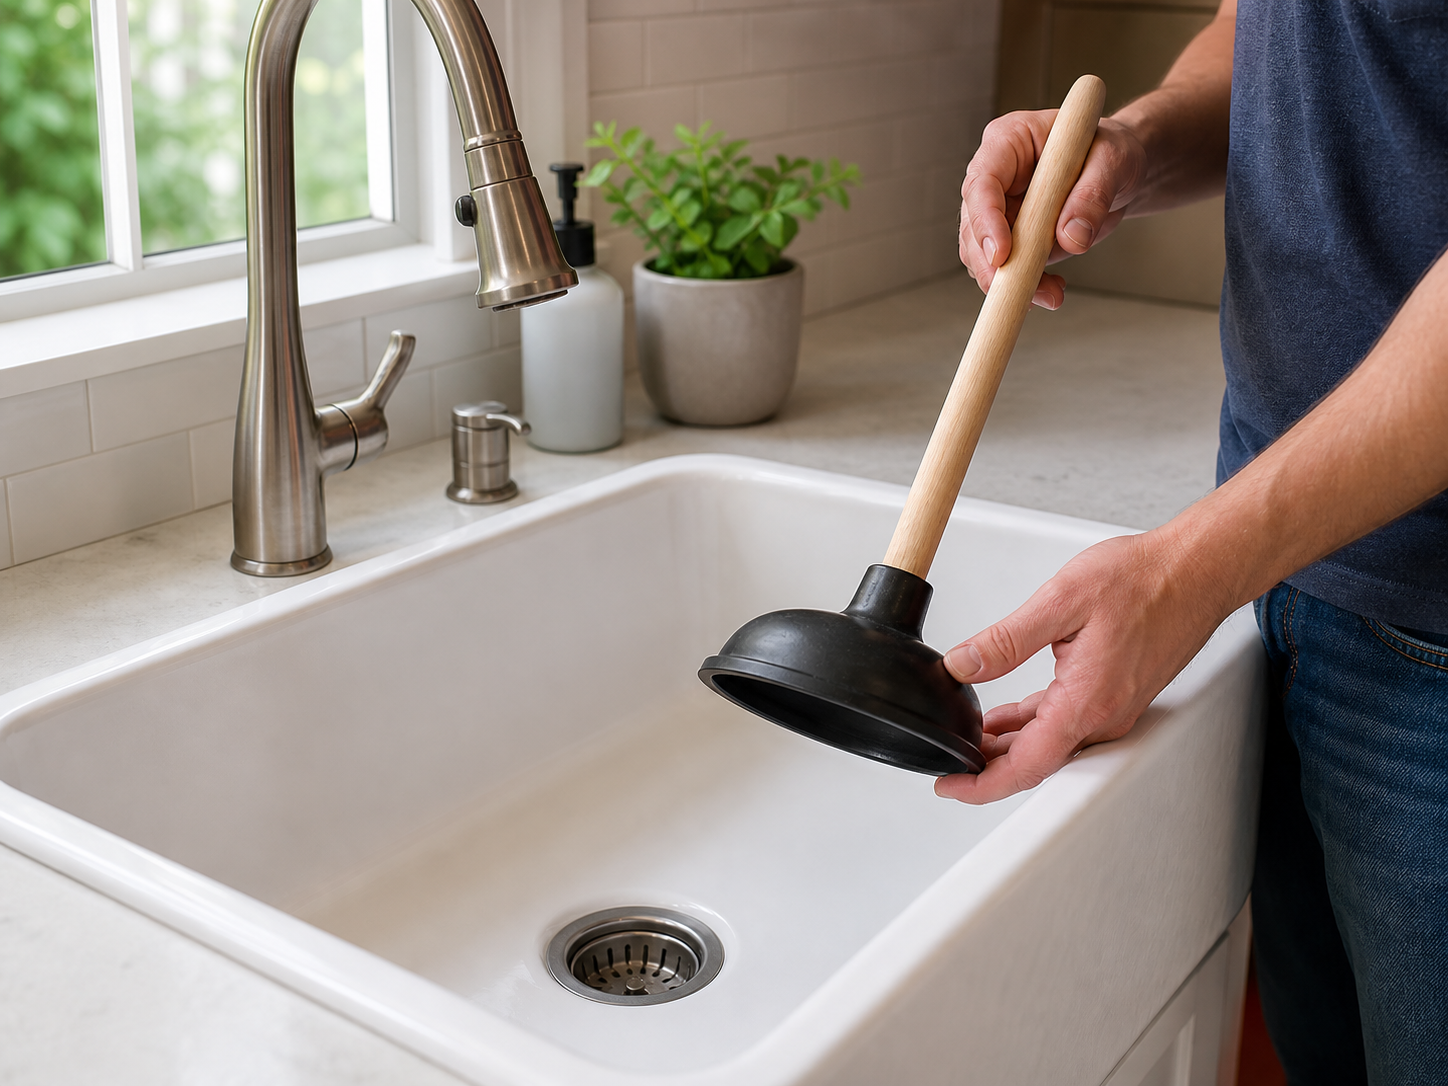
Match the plunger to the fixture

Use a flat, wide cup plunger for a sink or tub drain because its rim needs to sit flat over the opening. Keep a separate plunger for toilets; a cup-only sink plunger will not seal well in a toilet bowl.

Check before continuing: Keep the area dry, controlled, and easy to observe.
Use a flanged plunger for the toilet
Step 2

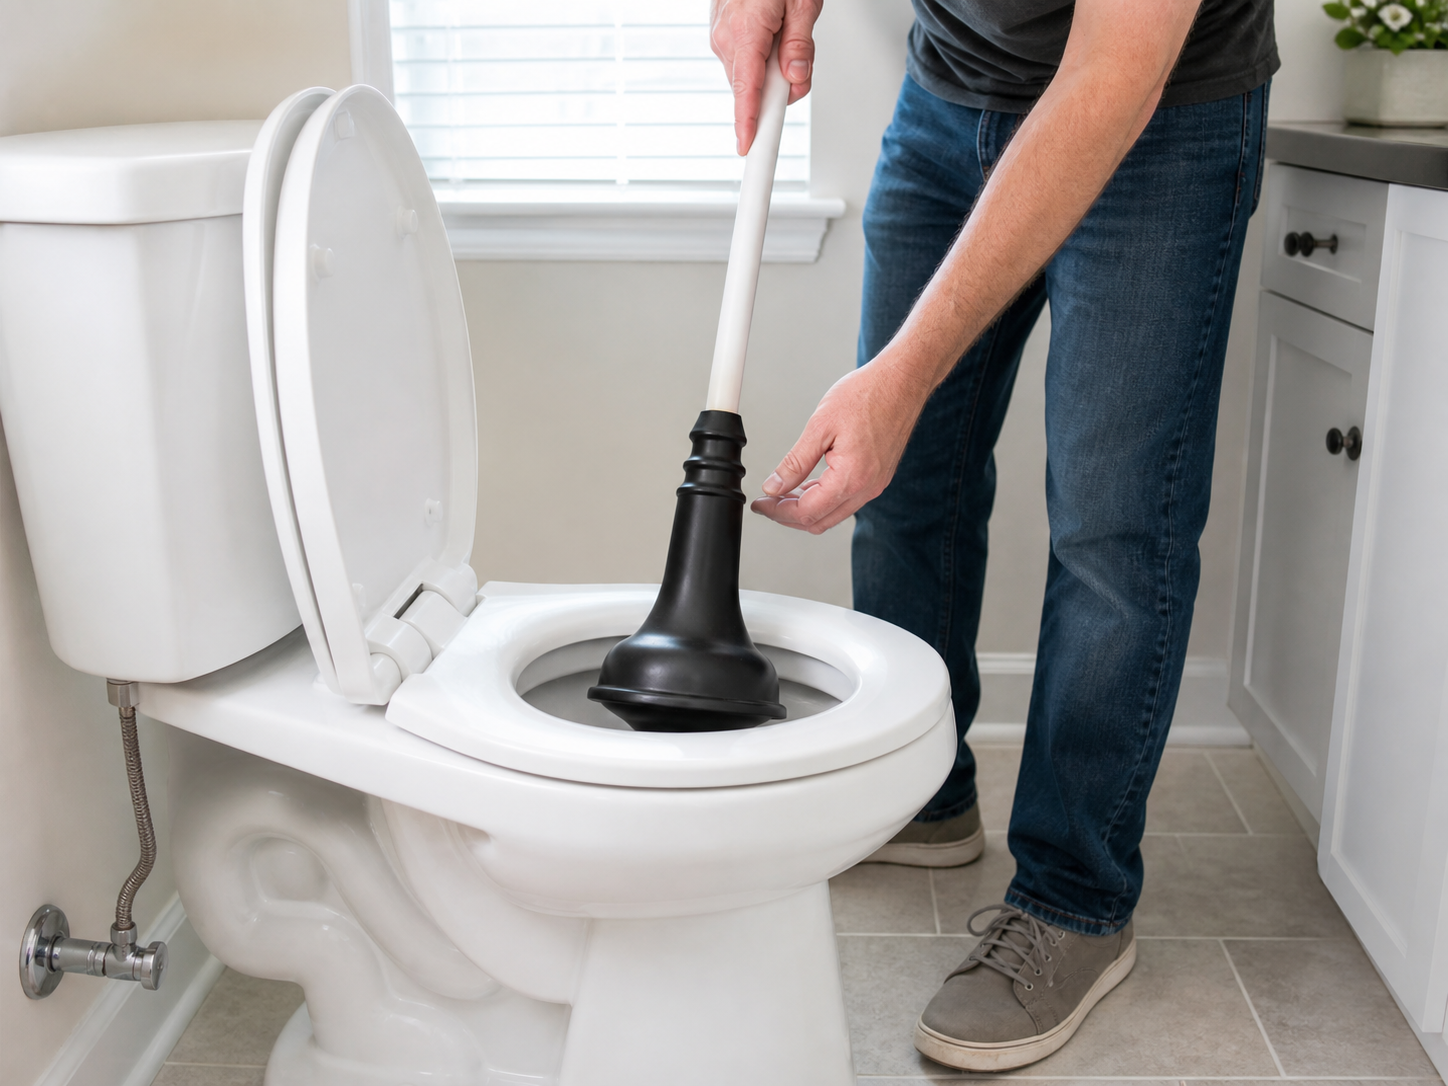
Use a flanged plunger for the toilet

Choose the toilet model with a narrow extended flange that folds into the drain opening. The flange creates a deeper seal in the trapway and should not be shared with a kitchen or bathroom sink.

Check before continuing: Keep the area dry, controlled, and easy to observe.
Create a seal before plunging
Step 3

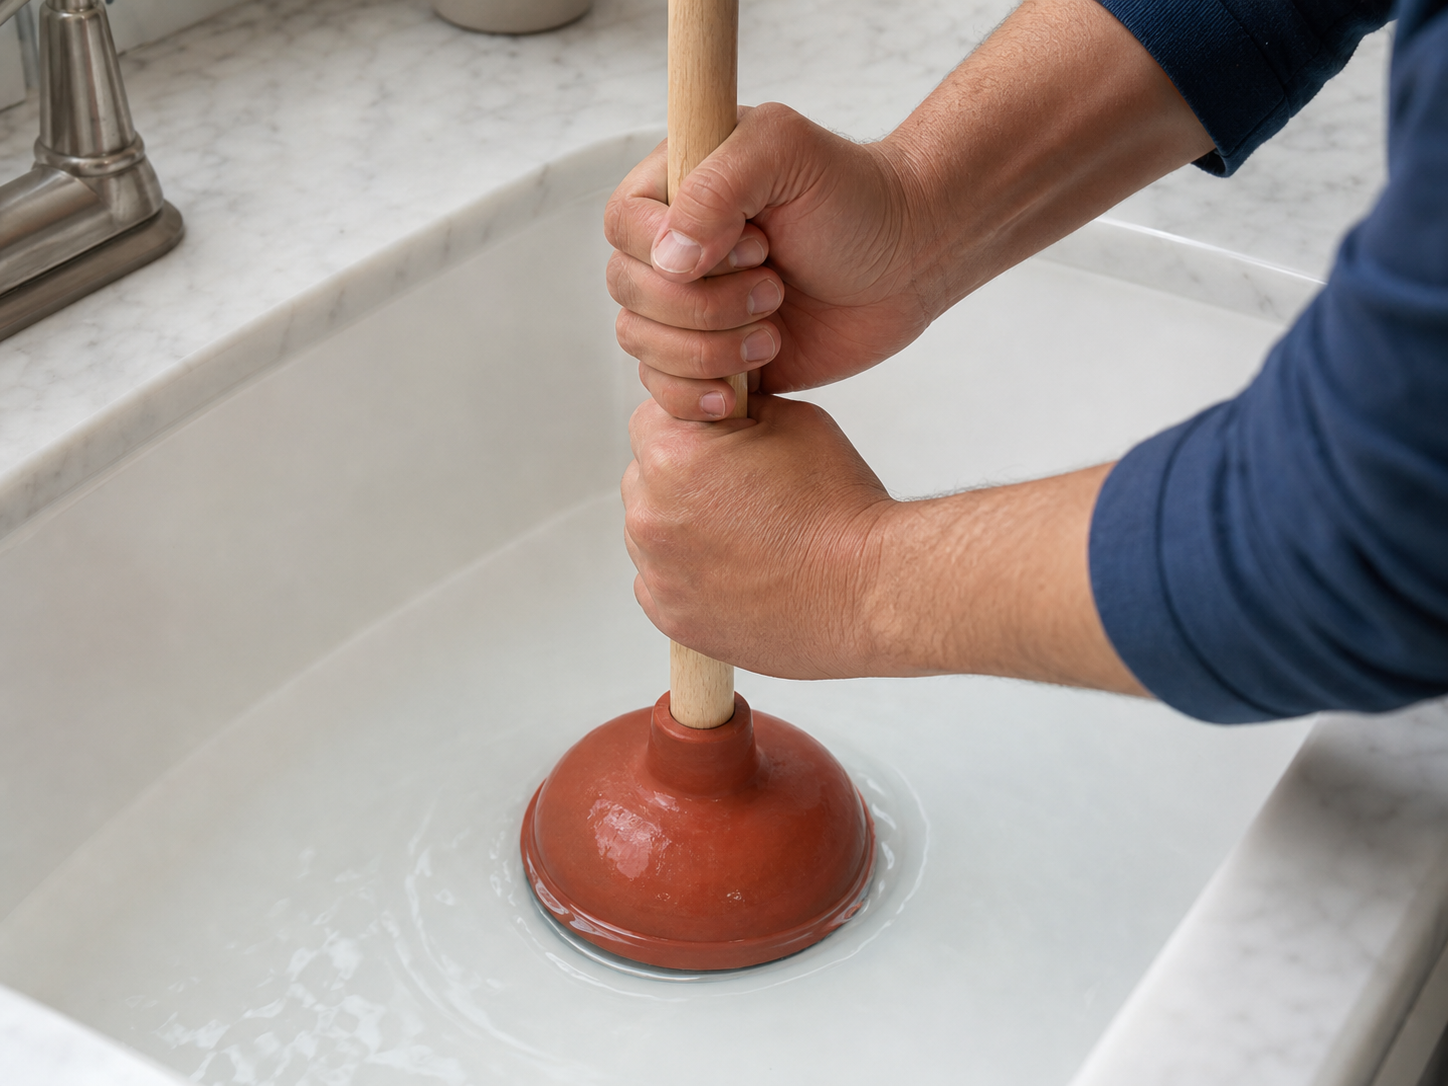
Create a seal before plunging

For a sink, add enough water to cover the cup, block the overflow opening with a damp cloth, and center the cup over the drain. For a toilet, keep enough water to cover the flange and set it straight into the outlet.

Check before continuing: Keep the area dry, controlled, and easy to observe.
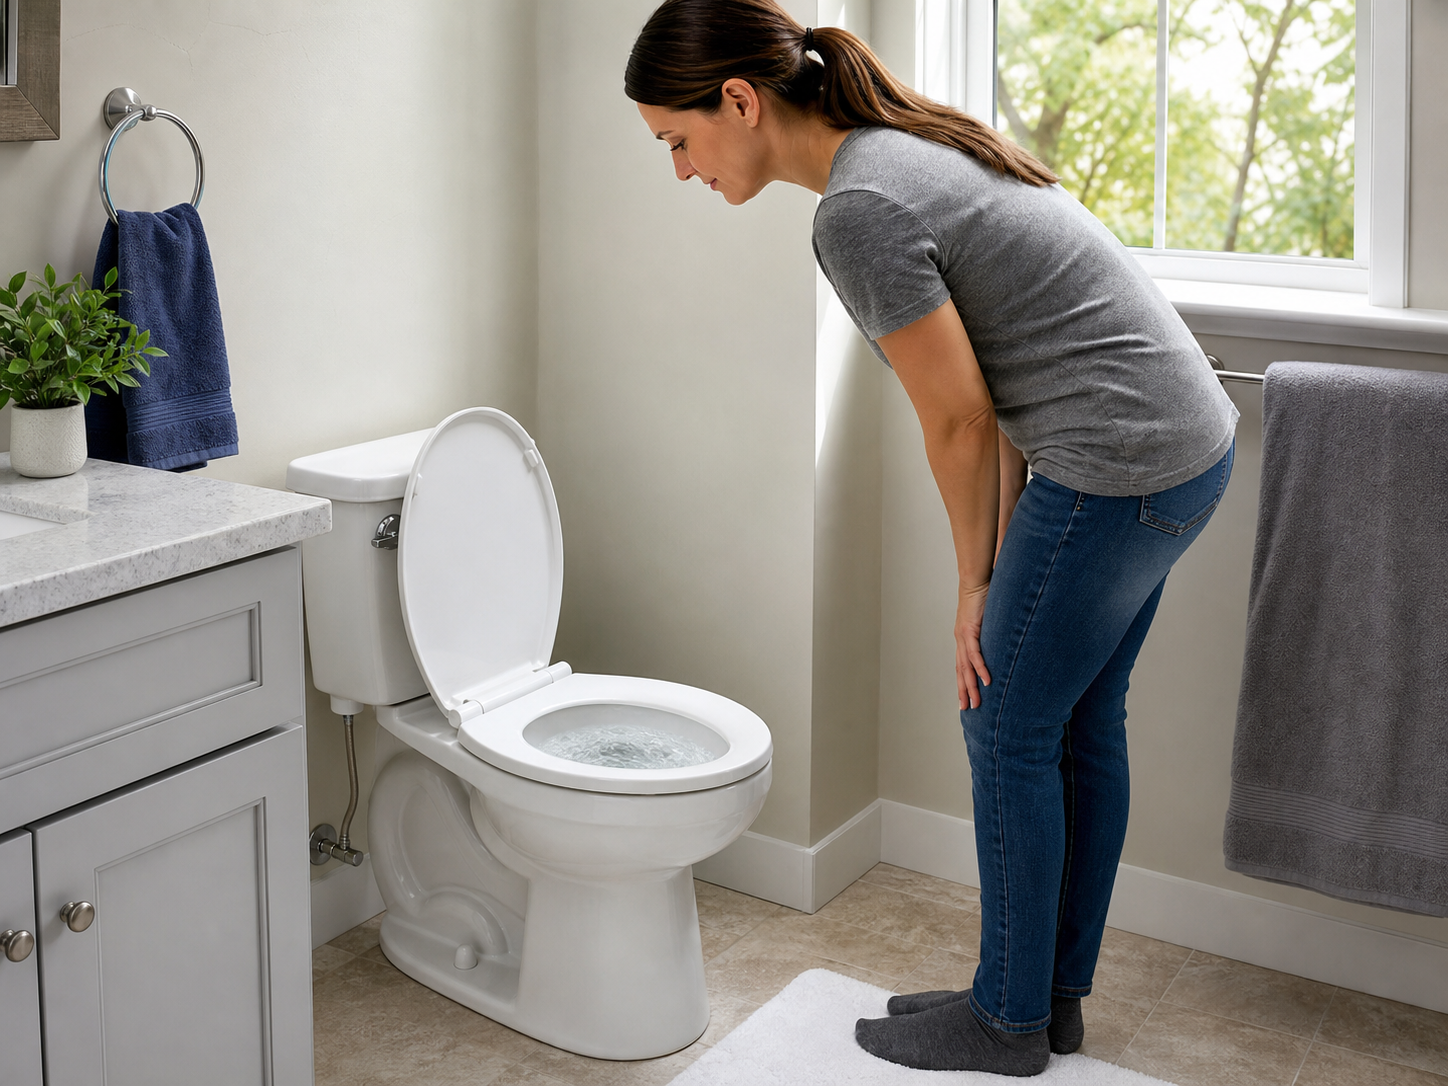
Work gently, then test once
Step 4

Work gently, then test once

Start with a few controlled strokes to protect the seal, then lift the plunger and check whether the water drains normally. Do not keep plunging against a hard stop; recurring or multi-fixture backups need professional diagnosis.

Check before continuing: Keep the area dry, controlled, and easy to observe.

Know your next step

When the simple check is not enough.

Share the photos, symptoms, and steps you already tried. New Flow Plumbing can help confirm the cause and recommend the appropriate repair path for your home or property.

Call a sewer specialist · 818-538-4958